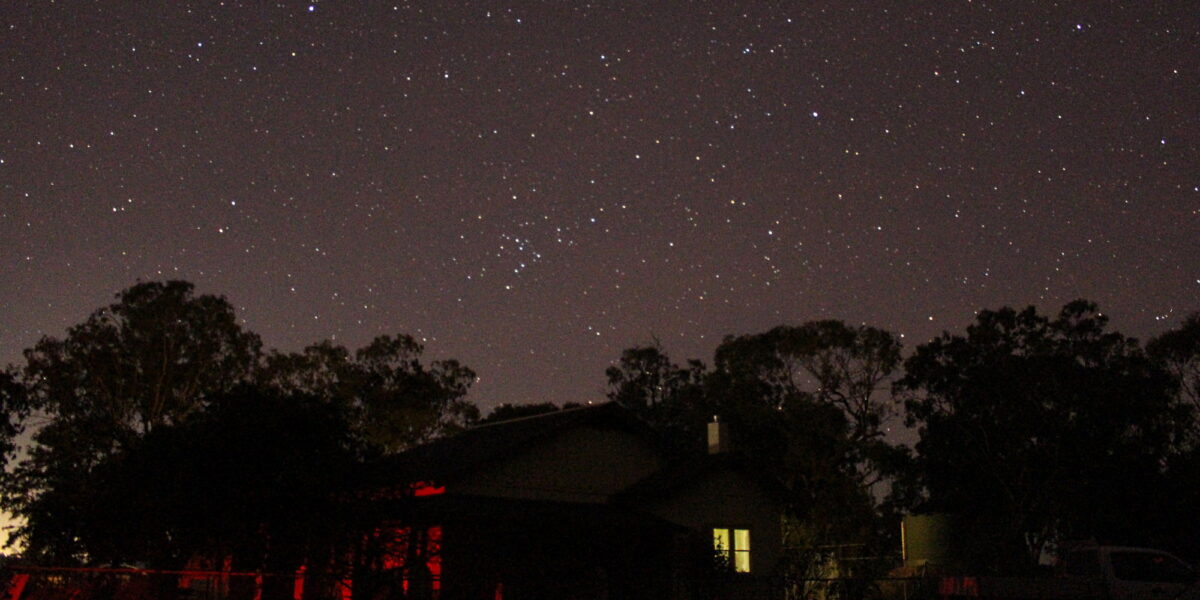
For two nights last month I was in northern Victoria, at the in-laws’ farm, standing around in the dark with my camera and my friend Gary, learning from him how to photograph the night sky.
It was bloody cold. But there’s little or no light pollution up there, and despite some cloud around, mostly the sky was clear.
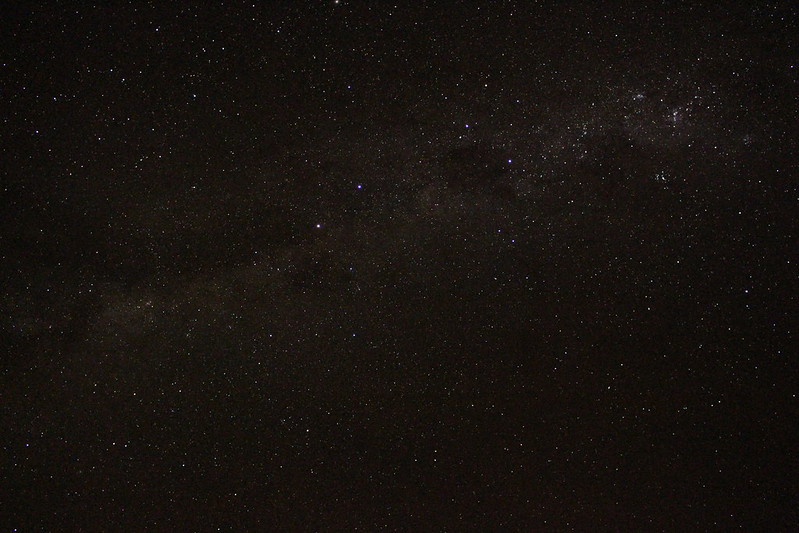
Gary’s got a proper set up for this stuff, but even with my DSLR and a humble cheapie tripod, with the right settings, and I got some pretty good photos. (You can click through to view them larger at Flickr)
To my surprise, a 18-55mm standard lens kit is better for this stuff than a zoom lens.
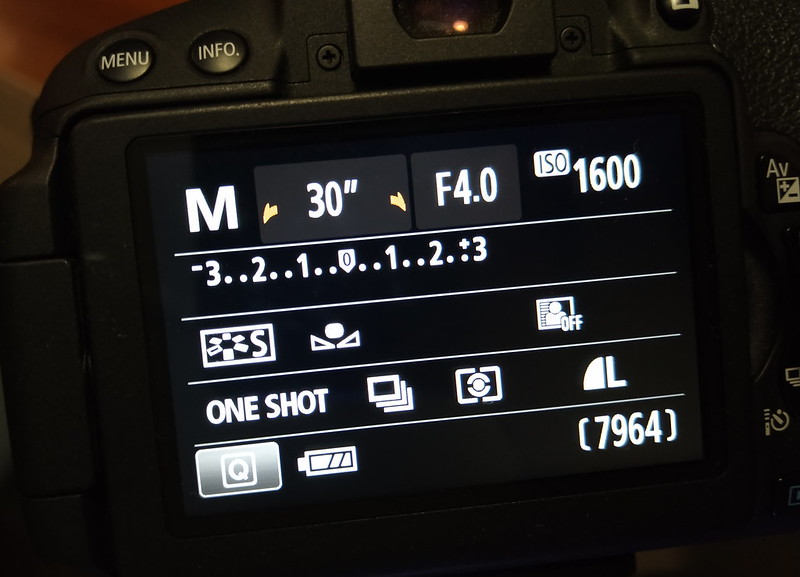
The settings include a long exposure time (10+ seconds, requiring a tripod and preferably using the timer to avoid any vibration from pressing buttons), a high ISO setting, and F4 seems to work.
I can’t say I understand what most of this stuff means, but here it is so I can try it again another time. (Different settings are recommended for photographing the moon.)
The really tricky bit is getting focus, because the stars are so tiny that it’s very difficult to tell if they are in focus or not.
One strategy is to focus on something on the horizon (or the moon) before it gets dark, and be sure not to adjust the focus again after that.
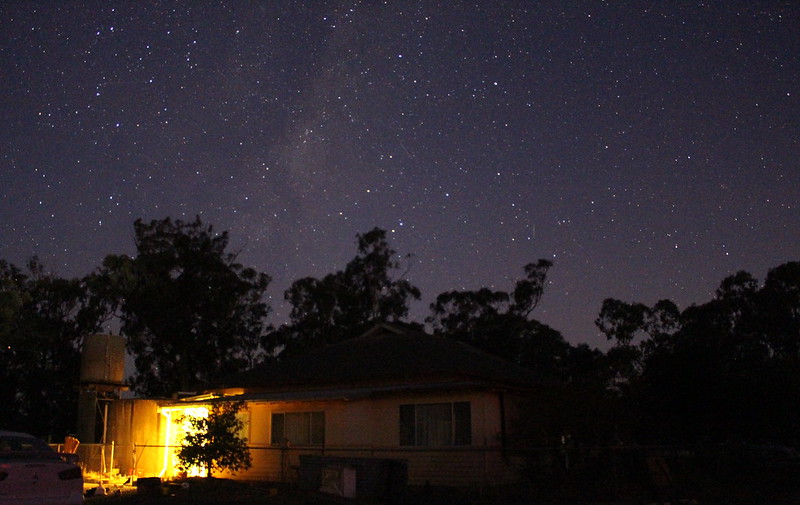
Anyway, with Gary’s help, I got some pretty good photos.
Not a patch on his though.
Check out his Instagram feed for some more great photos.
4 replies on “Seeing stars”
I remember seeing some mention of where that place that was 🙂. Where was it?
Daniel. ISO is the light sensitivity of the “film”, these days that’s the digital equivalent, but in the past it was the related to the photo-chemical composition of the cellulose, or more specifically the treatment on it which resulted in the sensitivity. You might recall from ‘film’ days, 100, 200 and 400 was a common number on film cans. 100 is standard sensitivity, and 400 is faster…there are also granularity trade offs as you go to super fast ISO (like 1600)
F stop relates to the aperture of the lens – the amount of light you let in through the lens to the ‘film’. F1 is ‘fully open’, and a higher F (usually up to about 20 or 30) means a very closed aperture – think of is as a pin hole through which the light streams via the lens.
Exposure time is self explanatory. The combination of the three values determines how “bright” the picture will be. Higher F stop (less light) requires a longer exposure time – all else equal.
@Michael, it’s property of extended family, near Nagambie.
@Andrew, thanks! I do mean to spend some time learning how to more fully use the camera.
There’s always something fun and new to learn with cameras. I remember how excited I was when I took my first long-exposure photo… just on the footpath outside my house, with light trails from the passing cars and a ghostly figure of a person who was walking towards me. And there is much to be said for a kit lens; they’re relatively decent and you can learn lots while using them. Keep having fun with it!